Online Blog > 01/18/2013 - Sandpoint Contractor completes new tile shower construction > Next Entry 02/21/2013
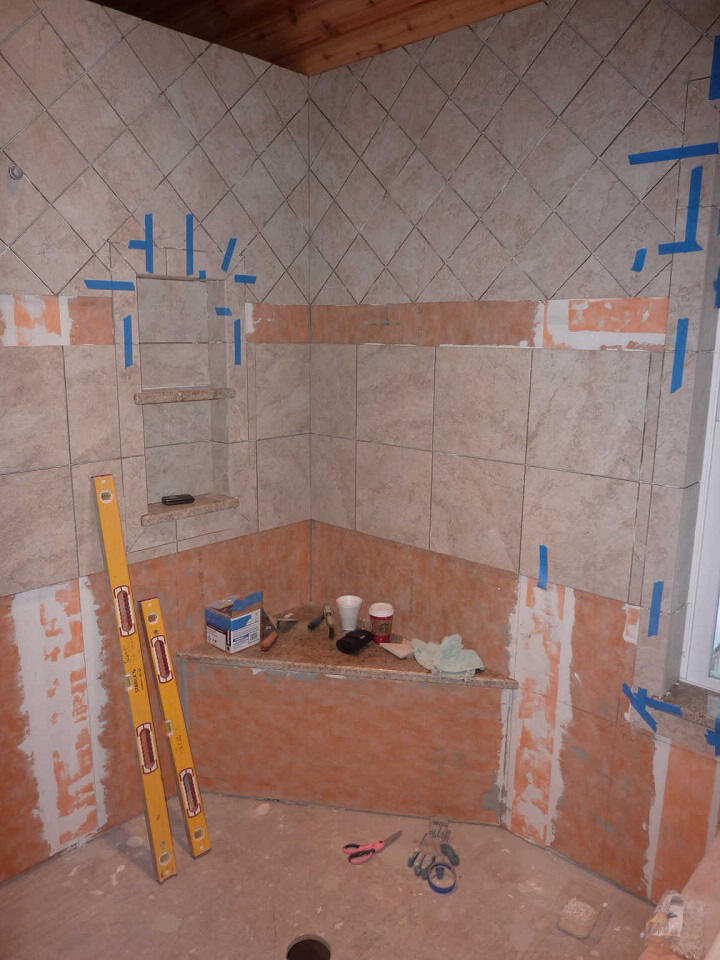
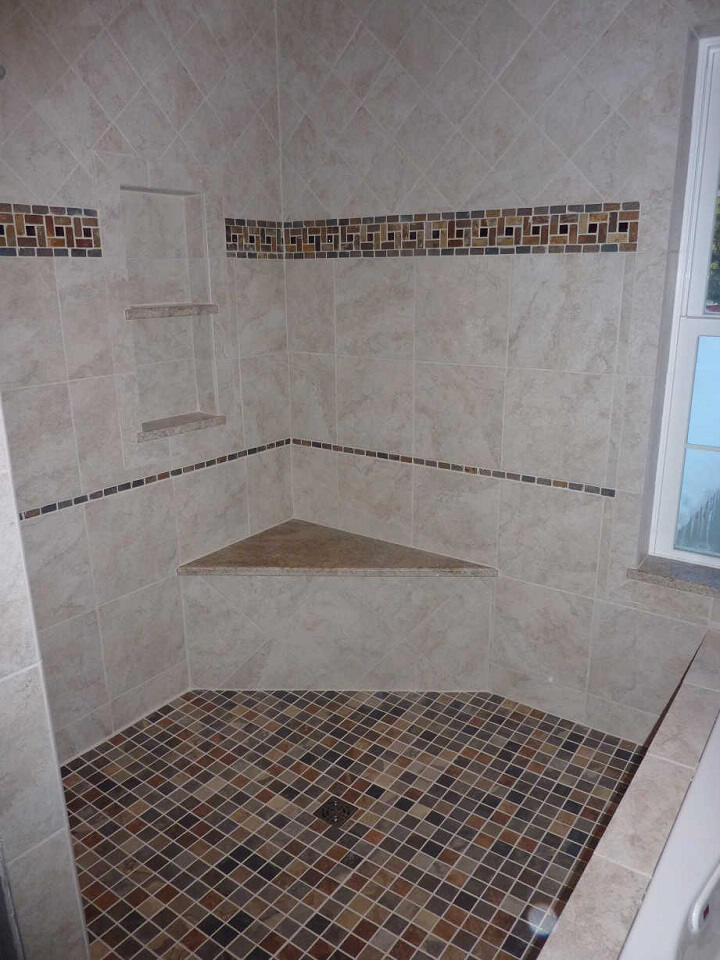
We recently completed the following Kerdi tile shower in a Sandpoint master bath. See our previous posts for information on traditional tile shower construction versus the superior Kerdi waterproofing method of tile shower construction. The following picture shows the tile shower under construction. The bench top is granite and is pitched toward the drain,as are the shelves in the niche, the window sill, the curb, and the tile tub surround closest to the shower floor. That way, any water that lands on those surfaces will roll off the tile to the floor, which will be pitched to the drain. One thing I like about using Kerdi is that the waterproofing relies on 2 inch overlaps of the membrane, not whether the wall membrane has a weatherboard overlap to the floor membrane. It works either way as to which direction of the lap. As an installer, this offers the advantage that the walls can be done before the floor. This means all of the mess made, especially when grouting the walls, will not have to be constantly cleaned off the partially or fully constructed tile floor. In fact, I build the floor last, after grouting the walls. I accomplish this by leaving off the bottom row of tile so that I can accomplish the 2" overlap of Kerdi from floor to wall beneath the tile:
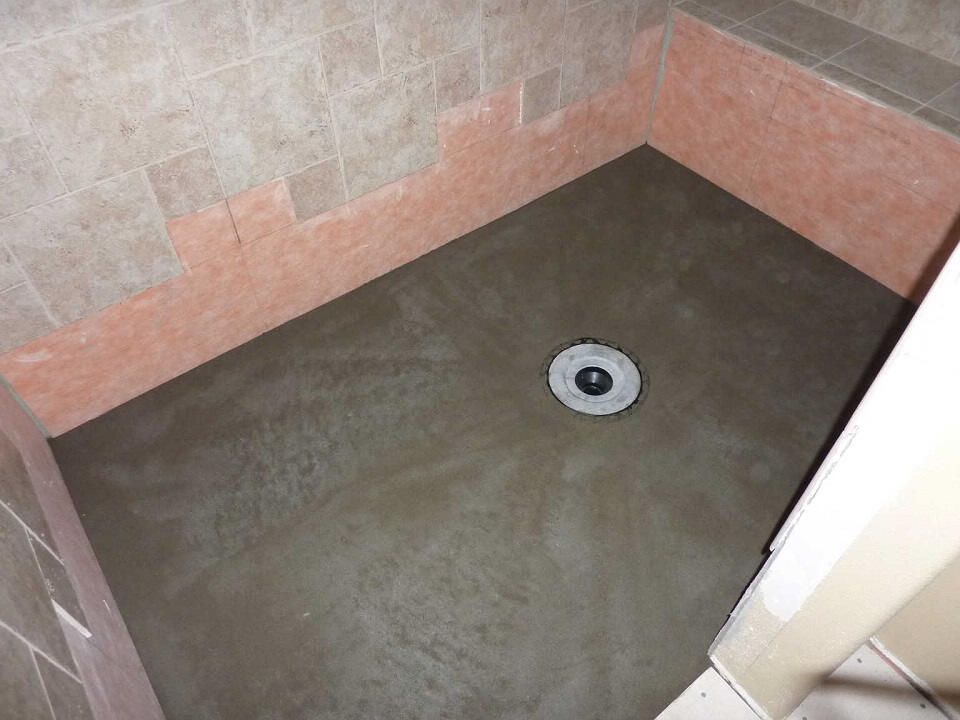
After the walls are complete, I build the dry pack mud floor as well as install the Kerdi drain with the unique fleece enmeshed bonding flange. Read my other posts on traditional shower construction in which I discuss the dry pack mud floor. This floor is a minimum 1 1/4" thickness at the drain, is sloped to the drain from the walls at 1/4" to 3/8" per foot, and is reinforced with chicken wire. Since this construction is over a wood subfloor, I used 15# felt below the dry pack as a cleavage membrane and mainly to prevent the floor from wicking moisture out of the dry pack too quickly.
After the dry pack, Kerdi membrane is installed on the floor, curb, and in the corners and with 2" laps to the walls. It is installed using a Portland Cement based unmodified thinset mortar. Pre-mixed thinsets at the big boxes are not Portland Cement based thinset, rather they are mastics. Mastics should not be used in a wet area, as they re-emulsify when exposed to water. Only use thinset products that come in a bag that have to be mixed with water. Unmodified means there are no polymers. This complies with the warranty of the Kerdi product by Schluter Systems.
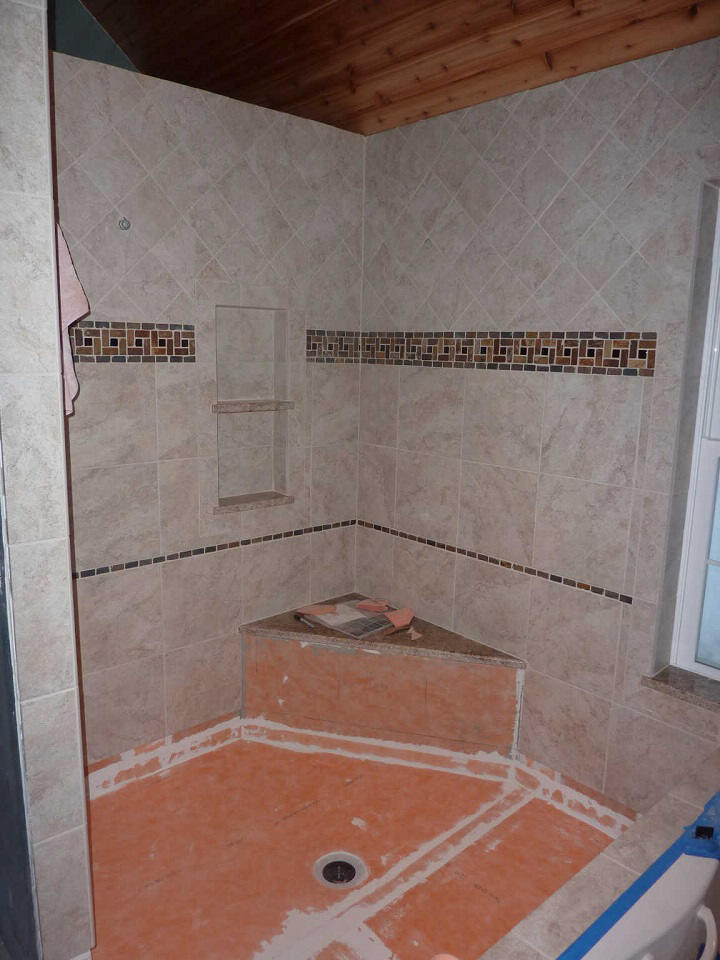
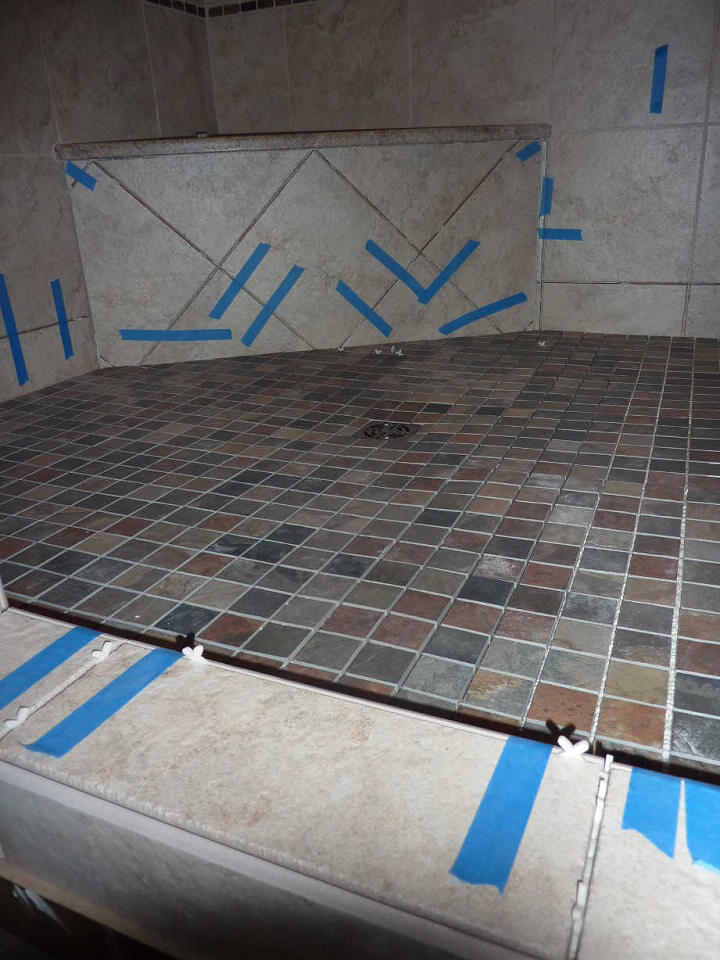
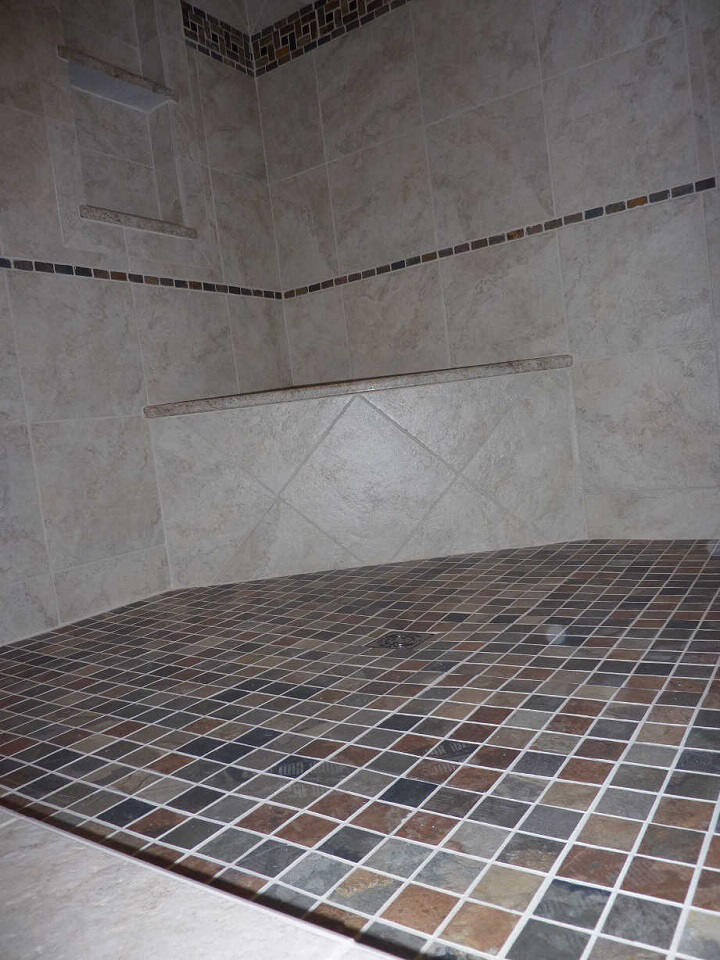
Subsequent to the Kerdi being applied to the floor, the tiles are then set for the bottom row of wall tile and the floor and curb:
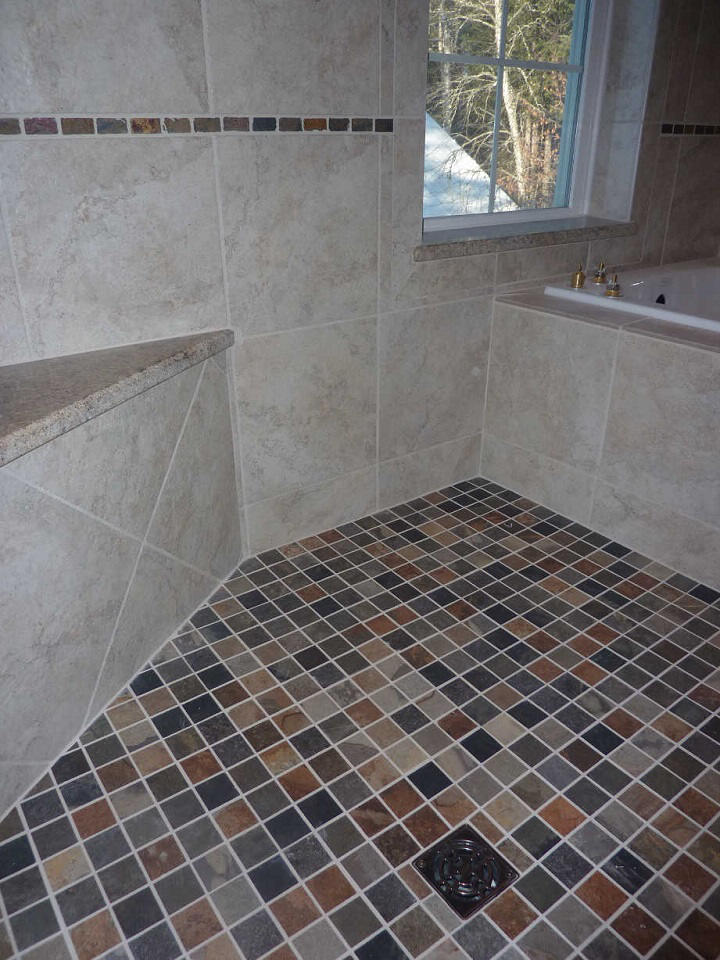
After grouting and sealing, we then have a completed and waterproof, high quality tile construction shower that the owners should be able to enjoy for many trouble-free years. Their lifetime if they want...:
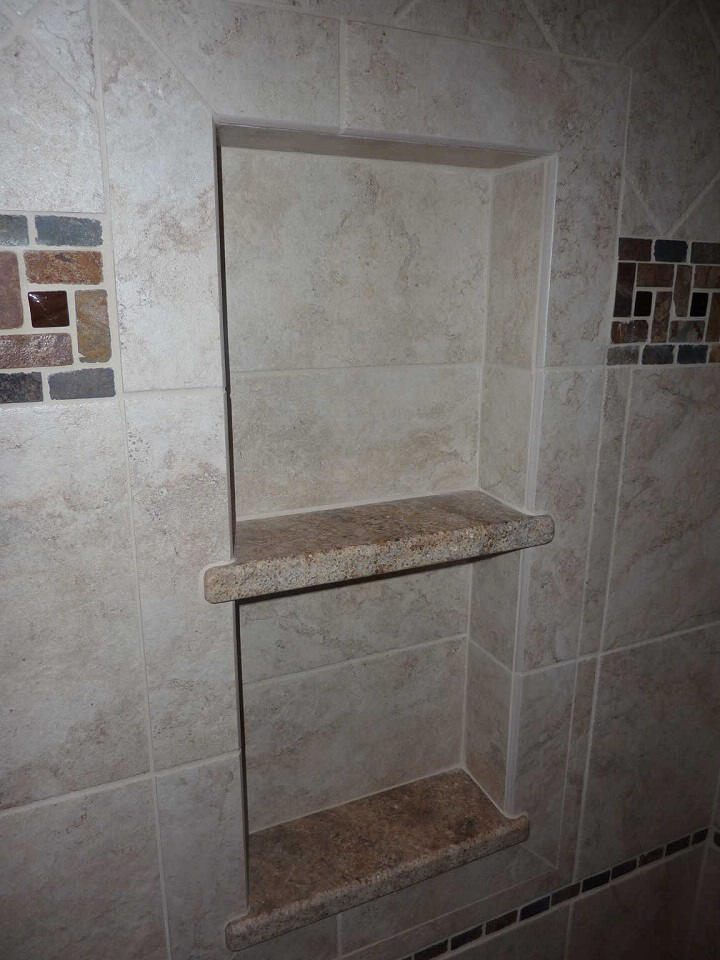
Many homeowners love these shower niche's, completed using the Kerdi waterproof membrane. In this case, there are two granite shelves, both pitched toward the drain, and there is a bullnose tile picture frame around the niche:
|