Online Blog > 04/14/2013 - How to waterproof a tile tub surround and save money > Next Entry 05/14/2013
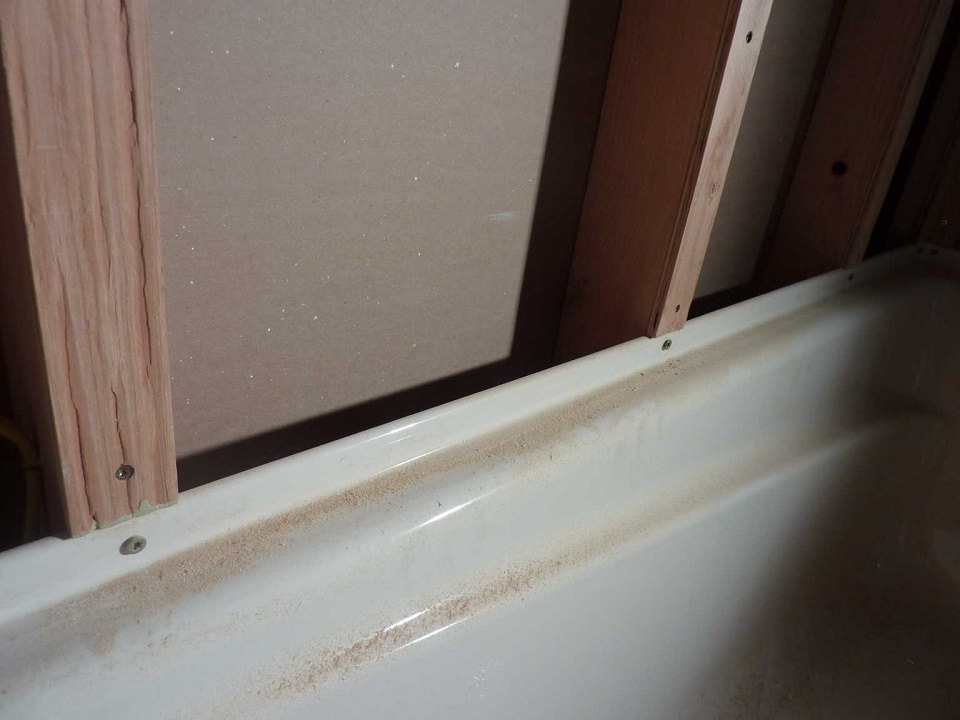
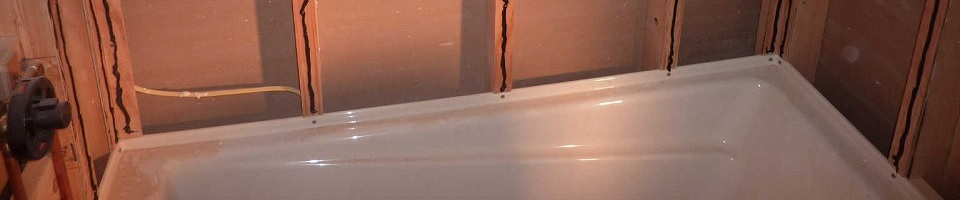
Back in the day, before before liquid waterproofing membranes like RedGard, Hydroban and Aquadefense, there was a less expensive way to tile a tub surround and account for moisture control. Keeping in mind that Redgard is about $50 a gallon, we have a client that wanted their tub surround tiled but wanted to save a few dollars. Looking at our inventory of building products in the tool room, 2 fit the bill for a perfect way to control moisture in a tub surround for less money - sheet polyethylene and roofing felt. Since much has been written over the years about using both of these products, we will save the words here, and will instead walk you through a picture tutorial. The bottom line is that tile and grout are not water and water vapor proof. Some moisture can get through the tile or grout (typically the grout, since porcelain tile is pretty close to vapor impermeable). Then, without a topically applied waterproofing membrane like the relatively expensive products named above, the water or vapor could get past the CBU layer and into the wall cavities, affecting the wood framing and feeding molds. It is at this point in a traditional tile tub surround that we want to control the moisture and redirect it into the tub. On this project, we are using a nice, deep tub by Maxx. We have followed the manufacturer's installation instructions and have attached the tub to our studs through the flange in this alcove installation as shown. Before we add the CBU, we are going to apply roofing felt to the studs. Either 15# or 30# felt will work fine. In this case, we had some 30# left over from a roofing job. Even before we install the felt, we are going to add shims to our studs so that the CBU can overlap the integrated tile flange of the tub. In this case, we used some 3/8" plywood, also left over from another job, and we screwed strips of said plywood to the studs. You can see in this picture that the shims plane out with the flange of the tub:
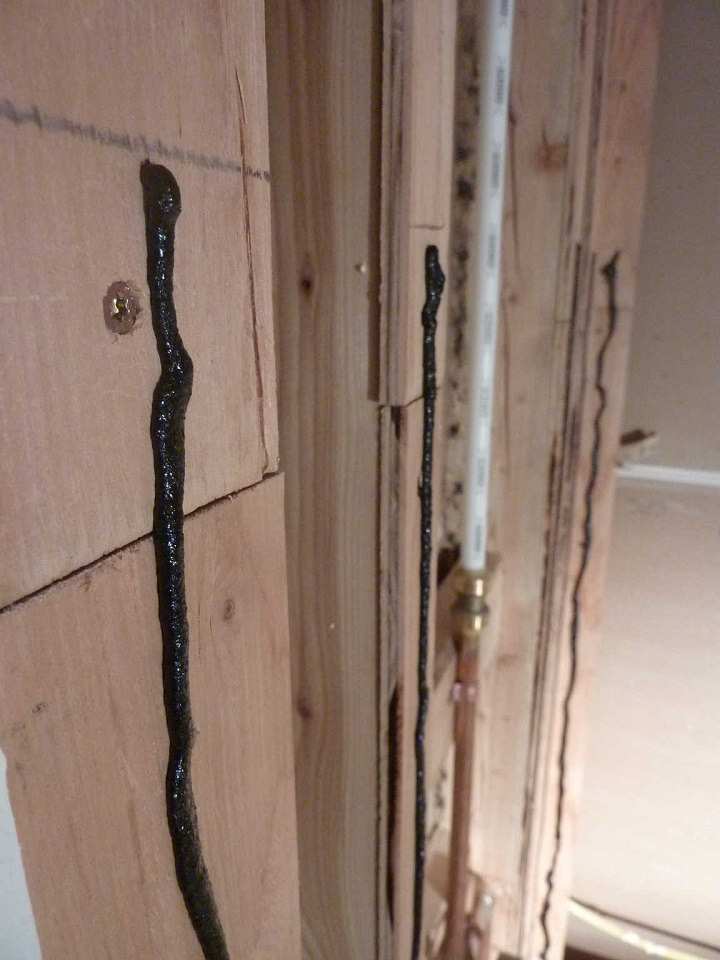
Before installing the felt to the studs, we use a tube of roofing cement (Henry's 209) from a caulk gun on the studs. This will seal around the staples we use to penetrate the felt, and it will seal around the CBU screws:
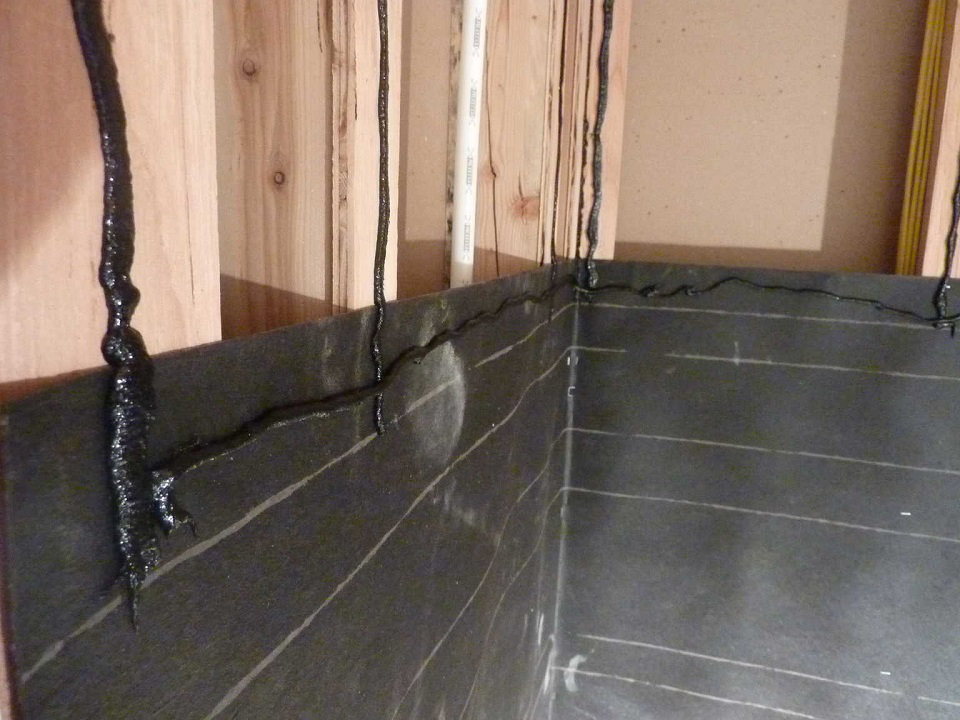
We then cut to length and staple the first course of felt to the studs, overlapping the integrated tile flange of the tub. Moisture that gets through the grout and CBU will end up on this felt and will run down the felt, and with the felt overlapping the tile flange of the tub, the moisture will end up in the tub and not in the wall cavity. We start with the bottom course of felt, carefully folding the felt into the corners (we use a board to press it into the corners and get the corner crease:
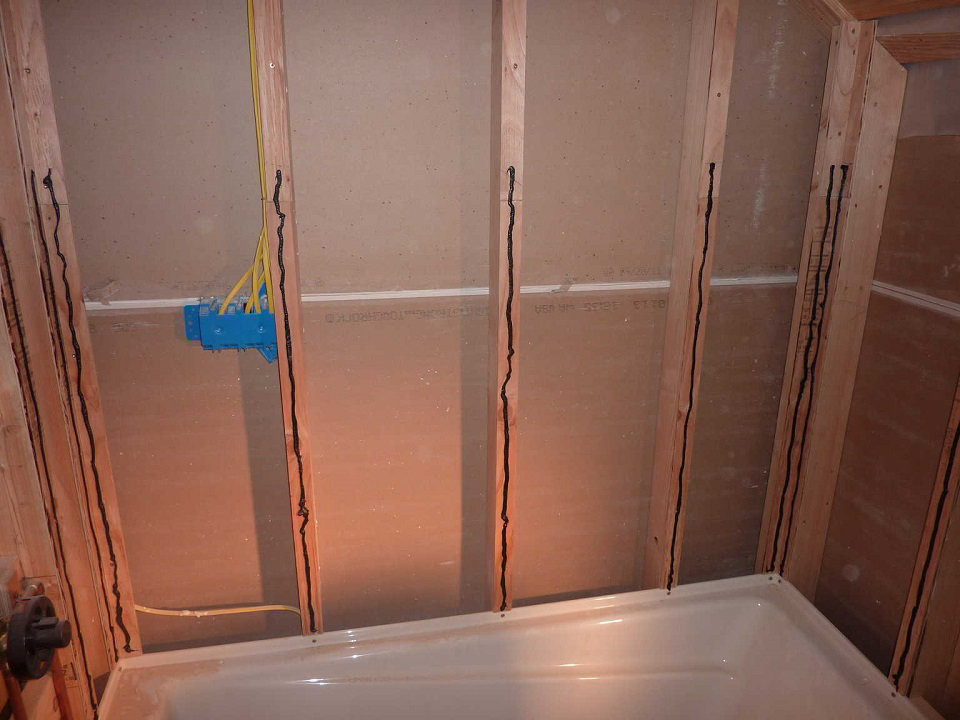
Before we apply the next course of felt, weatherboarded over the bottom course so that moisture stays on top of the felt and ends up in the tub, we again coat the studs with roofing cement, and we also run a horizontal bead on the first course of felt to seal the courses along the horizontal seam. Our overlap of felt is several inches:
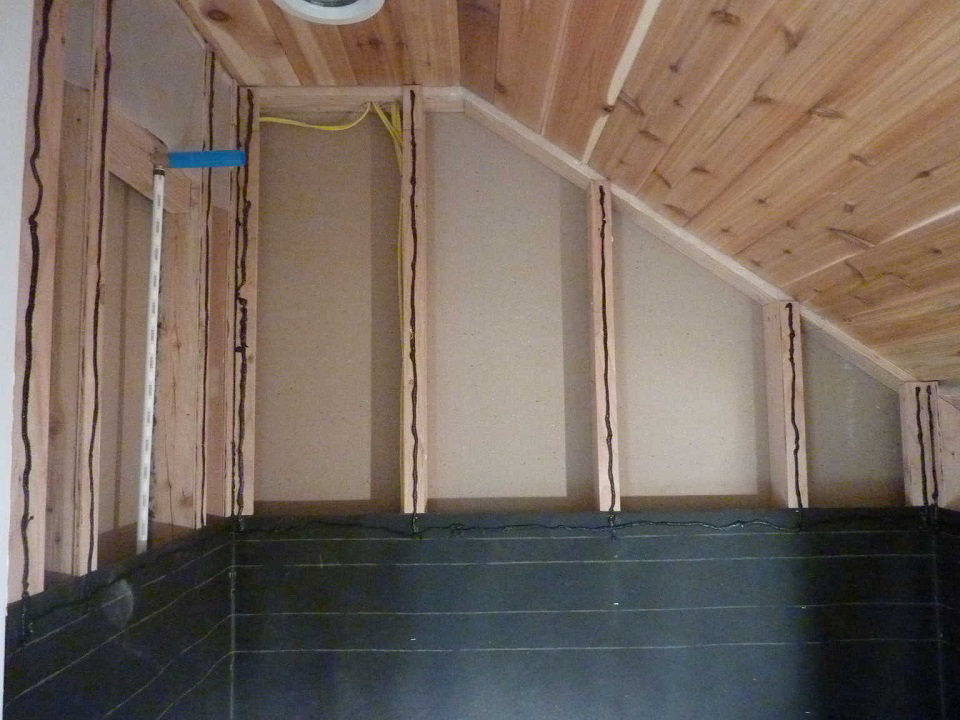
Next, we apply the 2nd course of roofing felt, pressing it into the first course along that cemented horizontal seam:
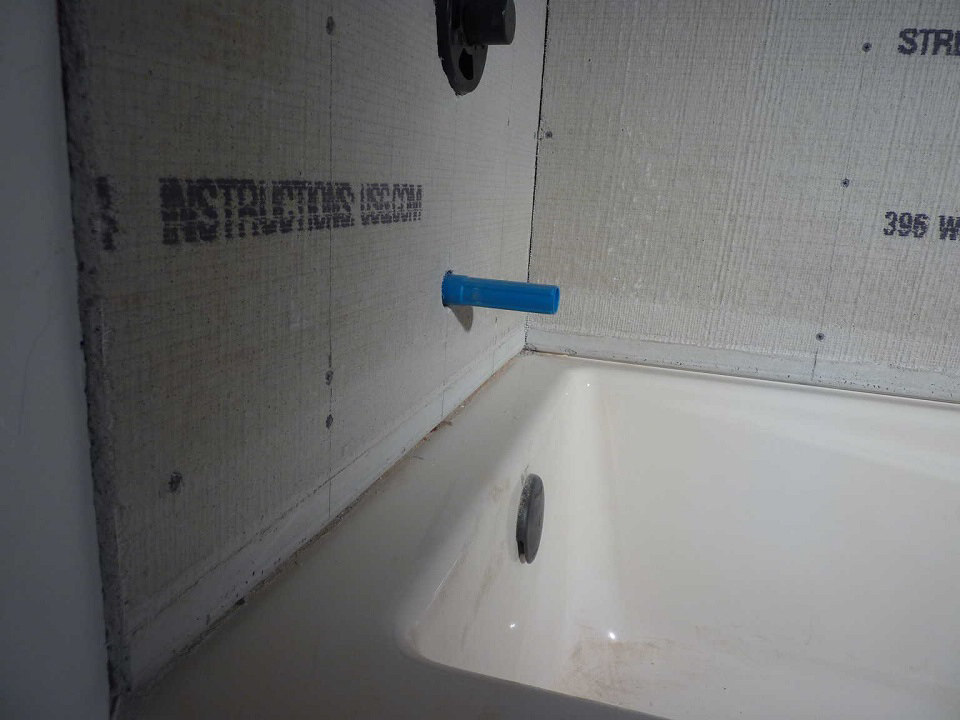
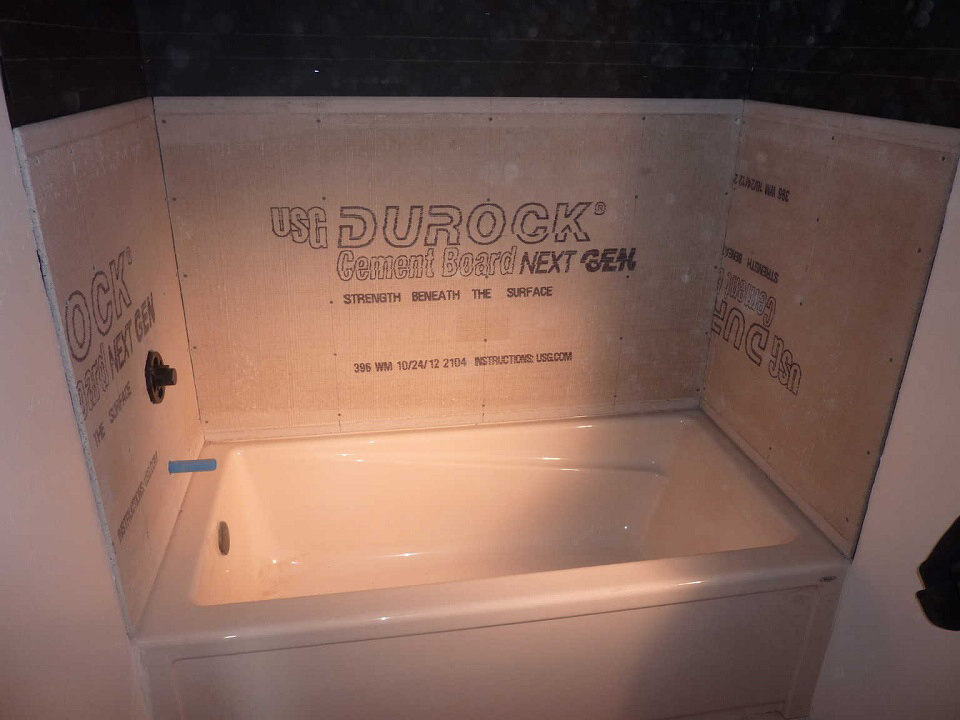
Now, we have proper moisture control and can install the CBU. So, here goes the first course of that, again, with CBU overlapping the integrated flange of the tub, said overlapping made possible by the fact that we shimmed out the studs with the 3/8" plywood:
Next, we completed the CBU installation, and we tape the CBU joints with alkali resistant board tape. We do this at the time of tile installation so as not to end up with speed bumps at our CBU joints.
|