Online Blog > Previous Entry 10/30/2015 > 12/18/2015 - We are finishing the interior of an apartment in a shop > Next Entry 3/5/2016
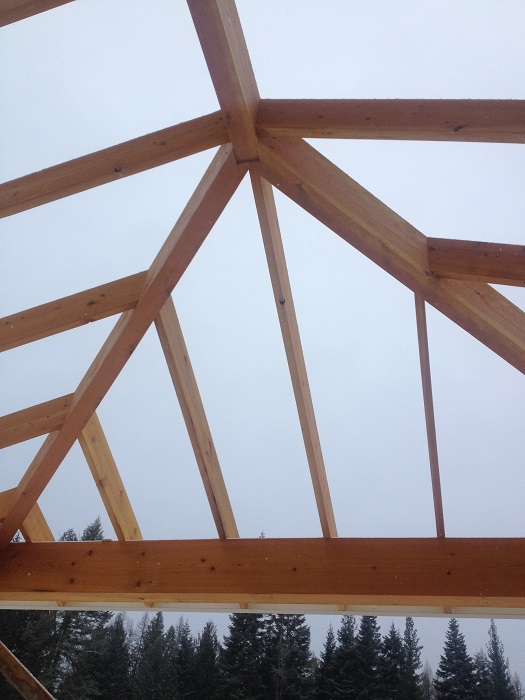
Here is an update on the custom home we are building in Careywood. One significant development was completion of the porch roof framing. We took our time, because all of the framing will be exposed, and so we mortised all of the ledgers and valley and hip rafters so that the common rafters will always have a tight looking fit and finish. All of the post and beams are also mortised and tenoned, though they are connected with Timberlok screws rather that wood pegs. But that is their only distinction from a traditional timberframe approach. The joints are tight, and since the material was beetle-killed Douglas Fir from Montana, which started relatively dry, the joints should stay tight over time and not twist.
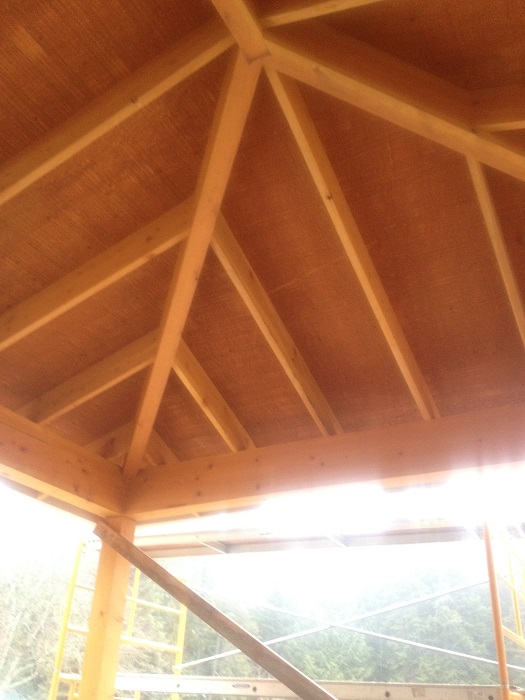
We stained a rough sawn plywood ceiling next and installed this with pneumatic staples on top of the rafters. Then, over that we installed a traditional 5-ply 5/8" CDX plywood roof deck. We had to be careful about nailing that so that there would be no shiners exposed in the visible framing on this porch ceiling:
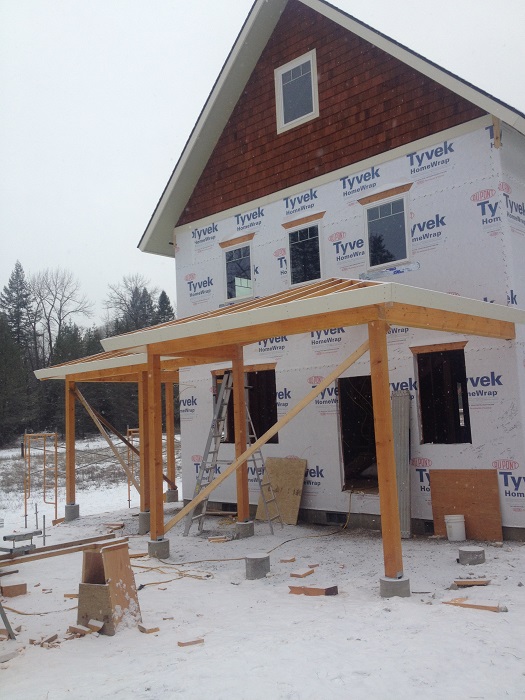
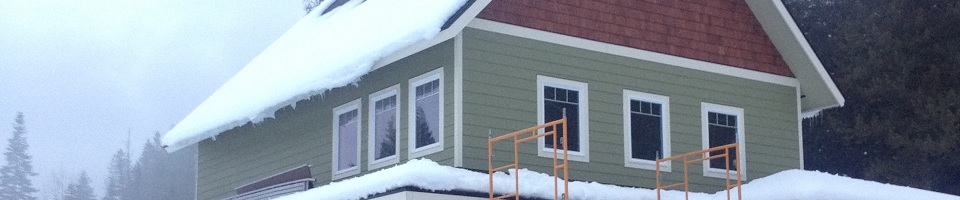
Here is the house before the porch ceiling and roof deck was installed. We have favored Tyvek housewrap over the years, finding it is the one housewrap that does not trap moisture trying to exit a heated building. We completed the upper gable siding in Cedar shingles even before we framed the porch roof, just because we had better access at that point to set up scaffolding:
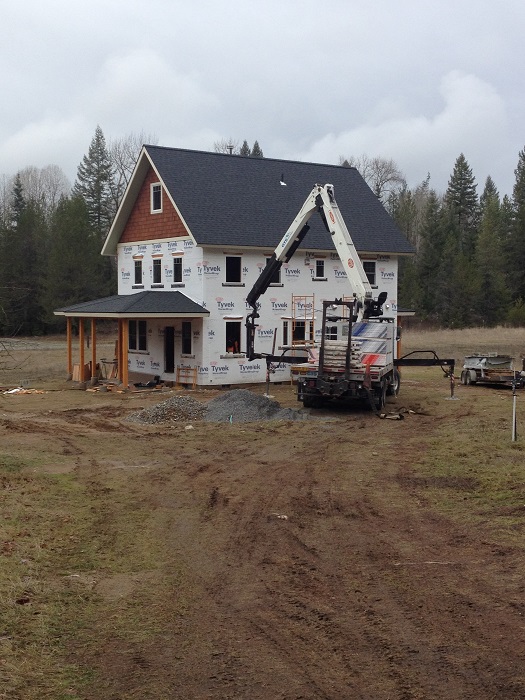
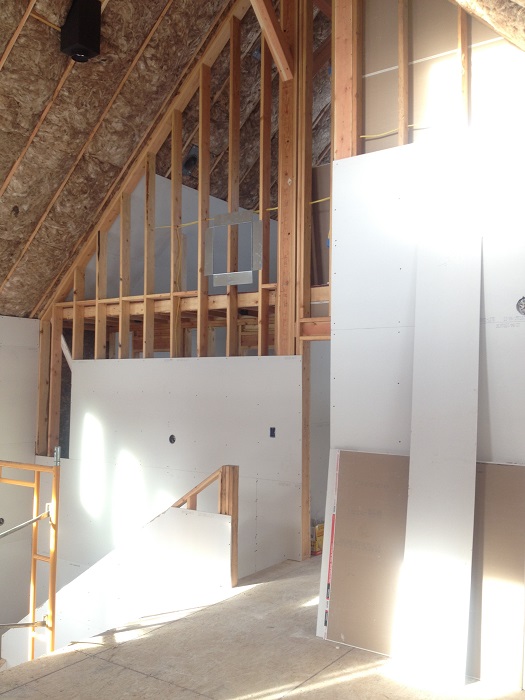
When we roofed the porch roof, we used ice and water shield on the entire surface to ensure there would never be any leaks from ice dams on the 4/12 pitched roof. It was then time for drywall stocking. The drywallers will work indoors while our own crew installs exterior siding and trim and the remaining windows. The siding is under cover on the trailer to the right in the picture. It has been pre-painted in our painter's shop:
Here is a photo of the drywall hanging progress. When we had the trusses built for the roof framing, we made them over 20" in depth, and they land on a load bearing ridge beam. The depth of the truss allowed us to install R50 fiberglass insulation in the roof system, while also leaving plenty of room for ventilating the bottom side of the roof deck through continuous soffit and ridge venting.
|