Online Blog > Previous Entry 8/3/2016 > 9/12/2016 - Window and Siding Installation > Next Entry 3/21/2017
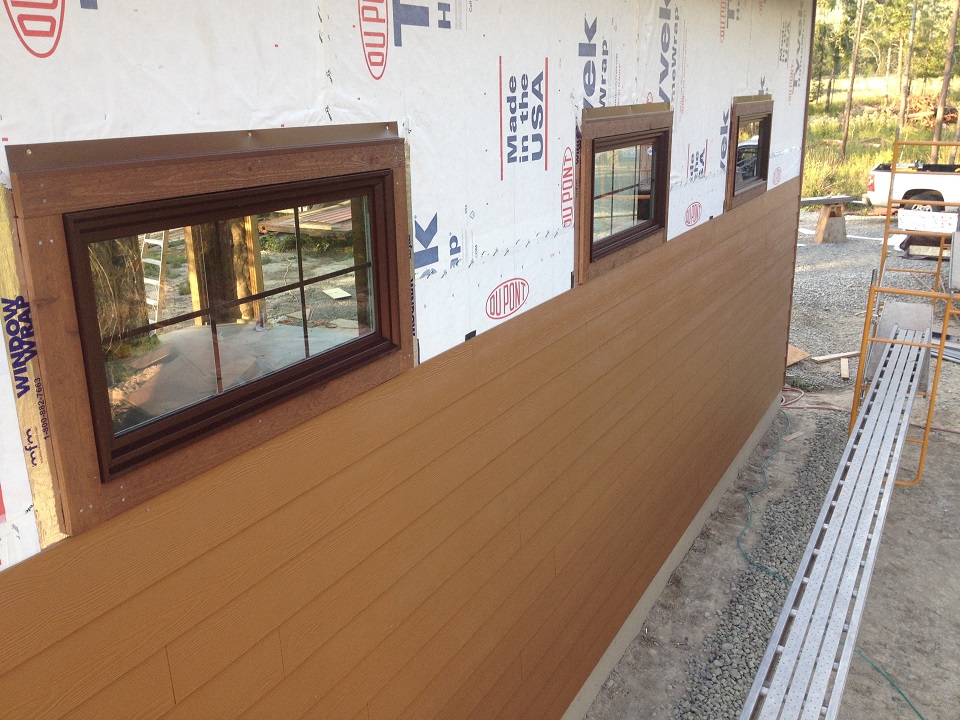
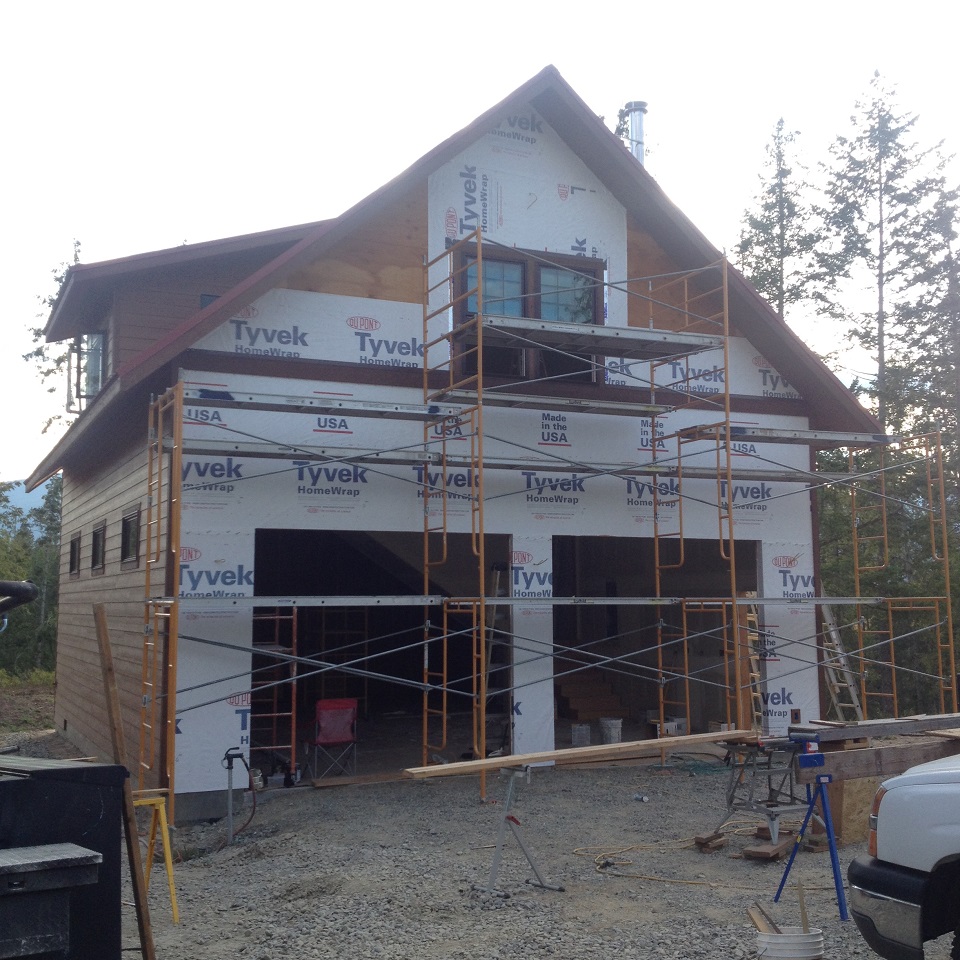
I want to talk about siding and some of the aspects of its installation that assure our homeowners that their buildings will perform beyond expectations. First, housewrap - I like Tyvek. We have tried other housewraps, some that have said that they will perform as well as or better than Tyvek, but over 12 years I have personally witnessed deficiencies of other housewraps. First, a housewrap allows the house to breathe while simultaneously acting as a secondary weather barrier behind the siding to prevent moisture from entering the building. It is the breathing part that I have seen other housewraps fail. On both remodels and new construction, when we have installed other housewraps against the outside of a building that is actively being heated, we have seen moisture exiting the building through the walls (migrating from heated space to cold outside air), trapped behind the housewrap and condensed behind the housewrap against the sheathing of the building. That is exactly what manufacturers of other housewraps say doesn't happen with their products, yet it is only Tyvek where I have seen this actually does not happen. Many builders do not tape the horizontal and vertical joints of their housewrap even though it is exactly what the manufacturers want us to do. Yes, the Tyvek tape, at $12 or more a roll seems like expensive boxtape. But, we budget for and install the tape according to the manufacturer's installation instructions so that your building is fully warranted from defects by the manufacturers of the products we install. In the photo below, we have first sheathed the side of the building with 1/2" CDX plywood. We don't use OSB, since even though the American Plywood Association claims OSB and plywood are equal as to their engineering capabilities - like in shear strength, we just have observed that plywood has some advantages. Then, the building is housewrapped, and then we install sill flashing using a bituminous window flashing. After that, the windows are installed exactly according to the manufacturer's installation instructions. We use a high quality caulk and screws, not nails (in case the window needs to be adjusted or to facilitate its future replacement if that is ever needed), and we ensure the window is installed plumb and square in the rough opening. Then we complete the flashing of the window with the bituminous window flashing, taping back down the Tyvek over the header bituminous flashing (so that all housewraps and flashings shed water in a fashion to keep it off of the wood building materials). The windows in the photo below are trimmed with pre-stained Cedar, and we make sure to shim the trim so that it is not canted toward the sheathing based on the thickness of the nailing flange of the window itself. We use a metal drip cap flashing above the windows to shed water around and over the window and always keep it on the surface and not let it get behind the siding and trim. On this building we are installing Allura fiber cement siding. We install it with a 1/16" - 1/8" caulk gap at all trimmed windows and corners. At each of the butt joints in the siding course, we butt the adjoining Allura boards tightly but install a piece of 30# felt at the butt joint to act as a flashing for that joint so that any water that penetrates the joint ends up shedding onto the top of the siding below that course (the alternative is to leave a gap of 1/8" that gets caulked and then the caulk needs maintenance over time). We stagger the joints of the siding randomly with each subsequent row so that joints shed on to full boards, and we think the random stagger pattern is more attractive than a systematic patter where each subsequent course is cut to the next stud. We don't like that kind of systematic patterning, since it reults in a stair-step look that we think is not quite as attractive in the finished product.
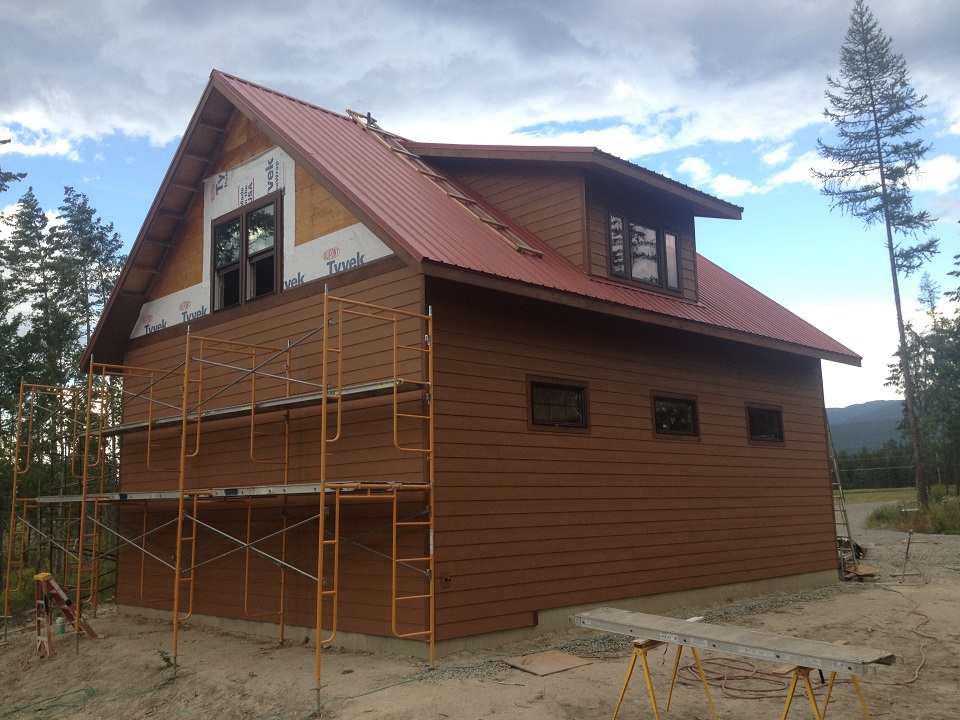
On the gable end of this building, we used an attractive 1x8 Cedar belly band that was designed to match in width the 7" siding exposure of each course, and the windows were framed so that the belly band ran right under them perfectly. You'll notice in the photo that as we work our way up the building we complete the housewrap as we go, and we install the soffit as we reach it with the scaffold and before we install the siding.
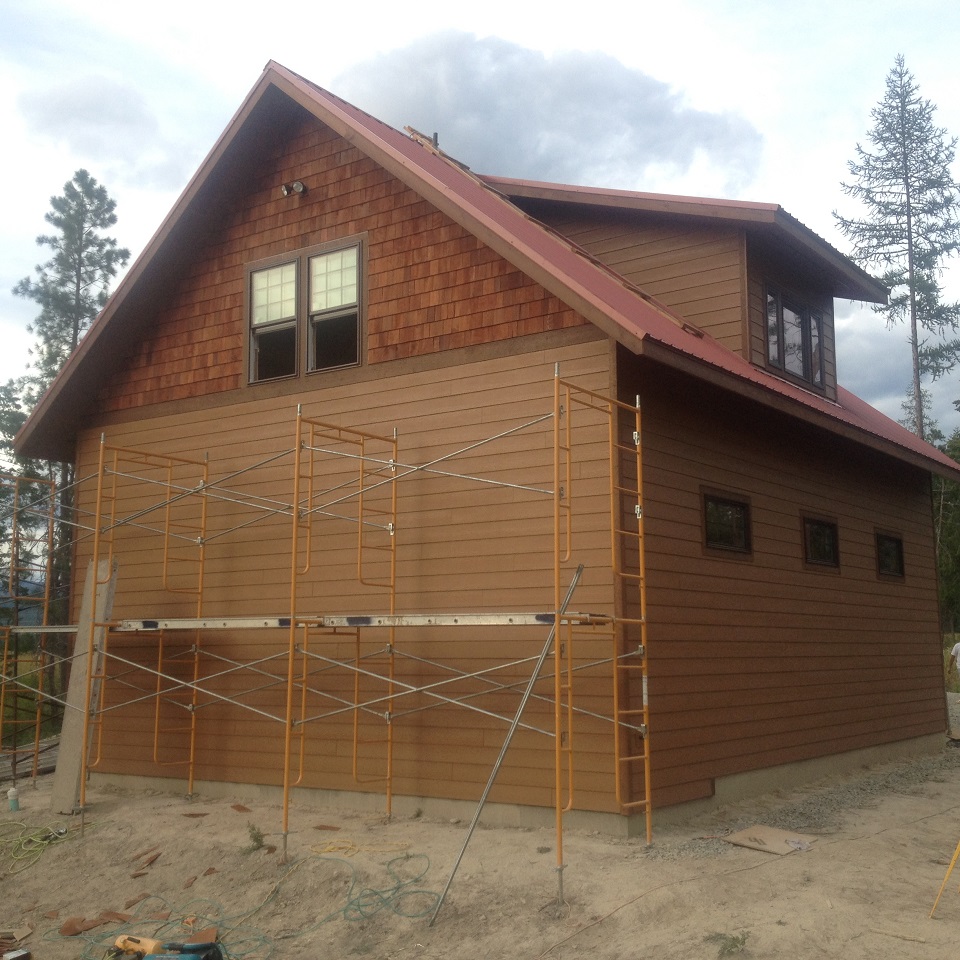
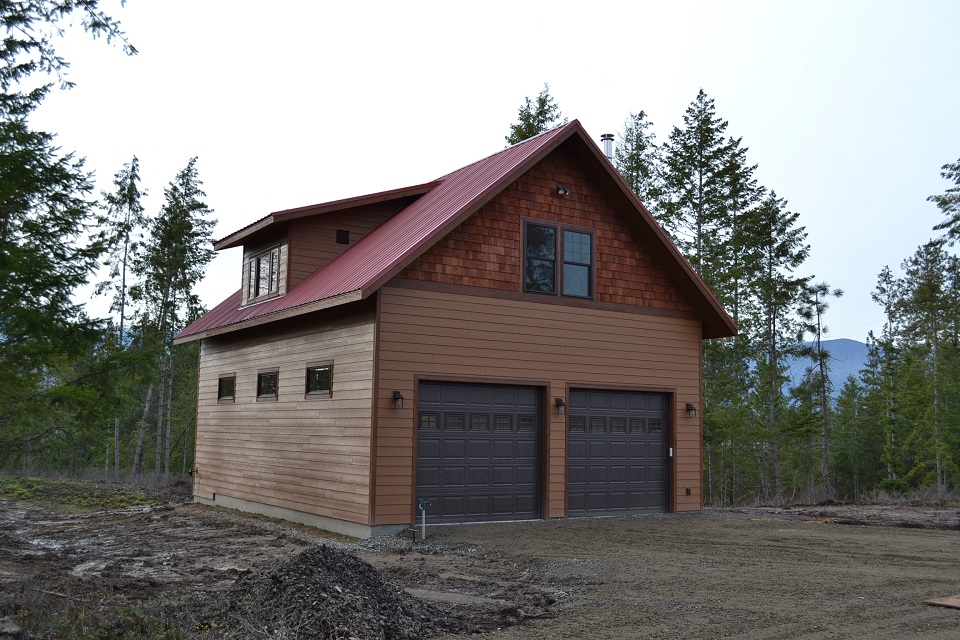
On this building, the gable end siding was an installation of prestained #2 Cedar shingles. We have found Cedar provides a durable and rustic finish, and we have found Woodtech stains from Sherwin Williams to be especially rich looking and durable in regards to UV exposure.
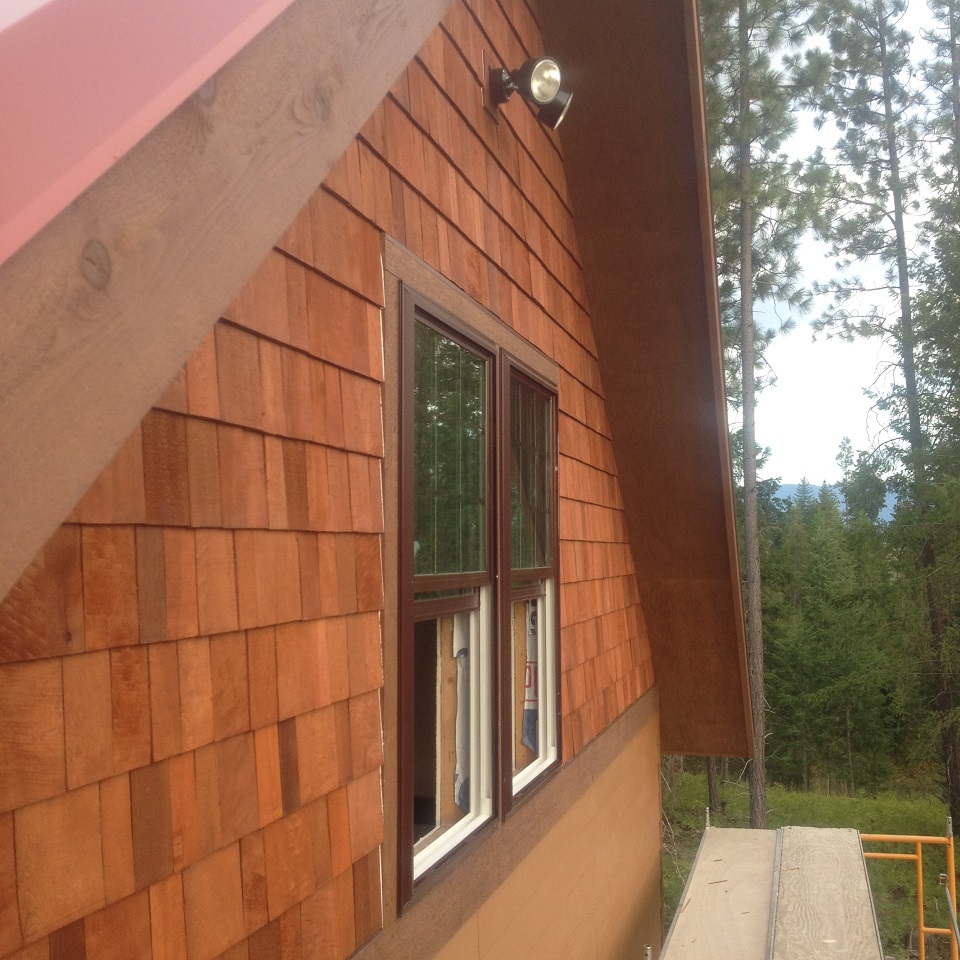
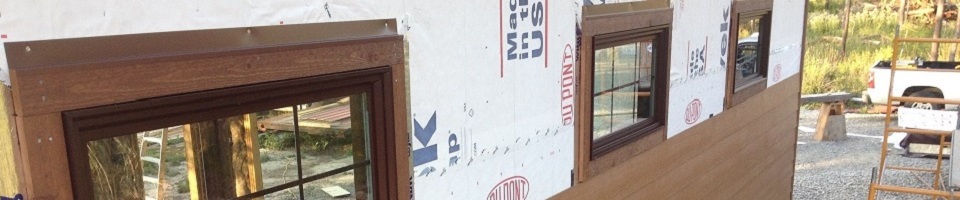
You may see the caulk just installed in the following photo between the Cedar shingles and the Cedar trim around the windows. It appears white but will dry clear. We also caulk between the window itself and the Cedar trim.
|