Online Blog > Previous Entry 10/29/2017 > 1/13/2018 - Stick Framing and Siding Installation > Next Entry 9/9/2018
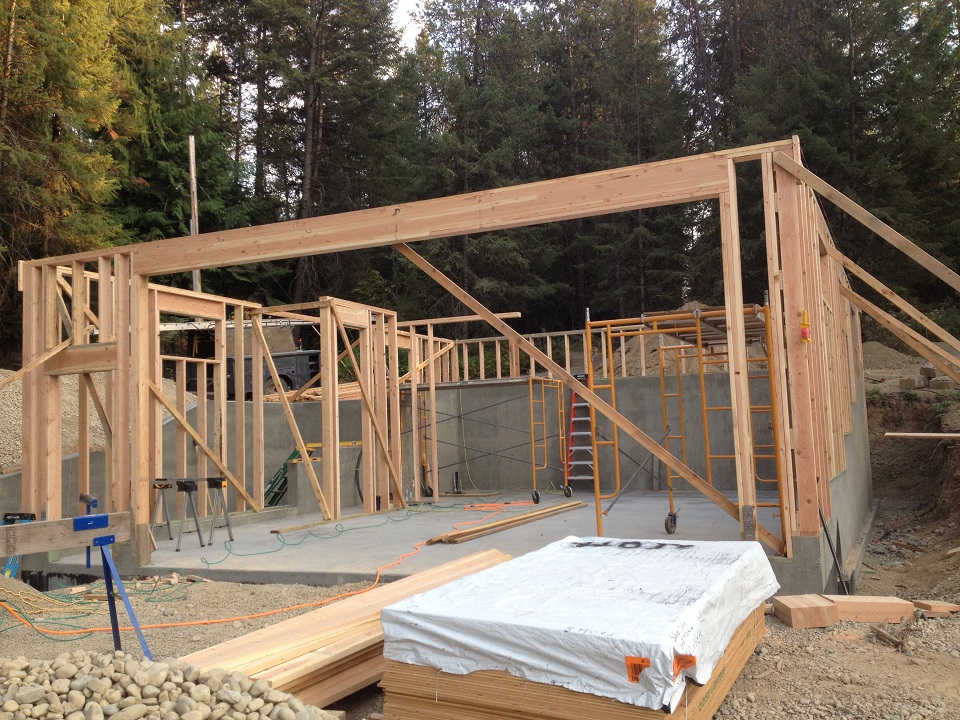
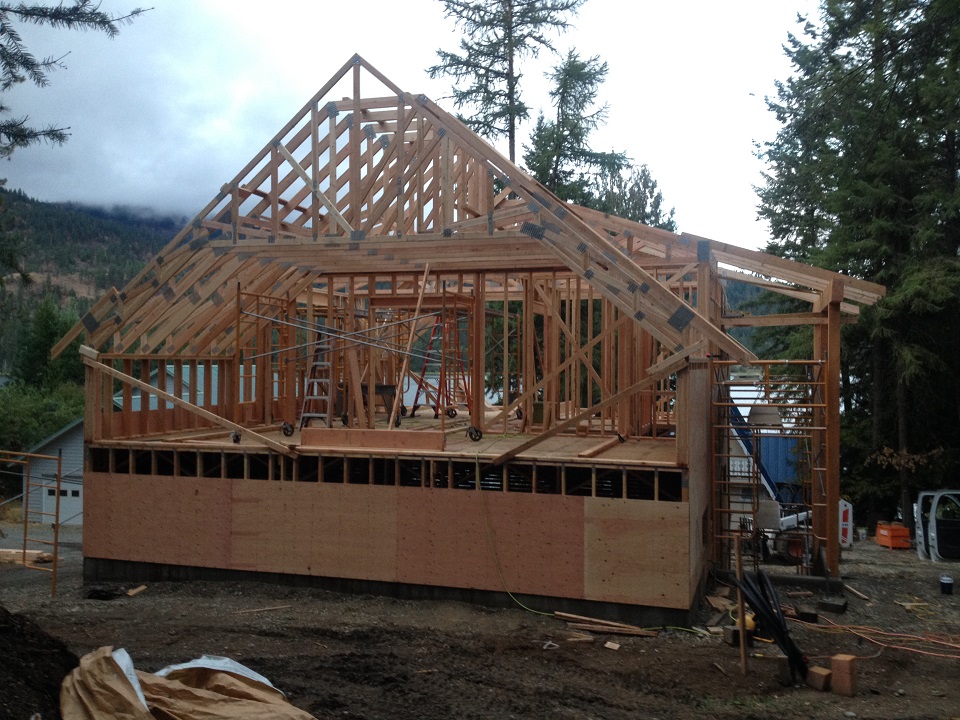
Much progress has been made on the riverside house over the past couple of months including completion of the framing and all of the exterior finish like siding and roofing. After concrete, we start out with the first floor wall framing, which we then use string line to align the walls for straightness, plumb those same walls and temporarily brace them so that they stay plumb, and then attach some plywood sheeting in preparation for the 2nd floor. The plywood sheeting is 1/2" CDX, which we think is superior to OSB (and hardly more expensive) mainly in its ability to withstand projectile penetrations (like from flying tree branches in a wind storm). On this plan, we have a very long garage door header, since we will be using a commercial garage door that is 20' wide.
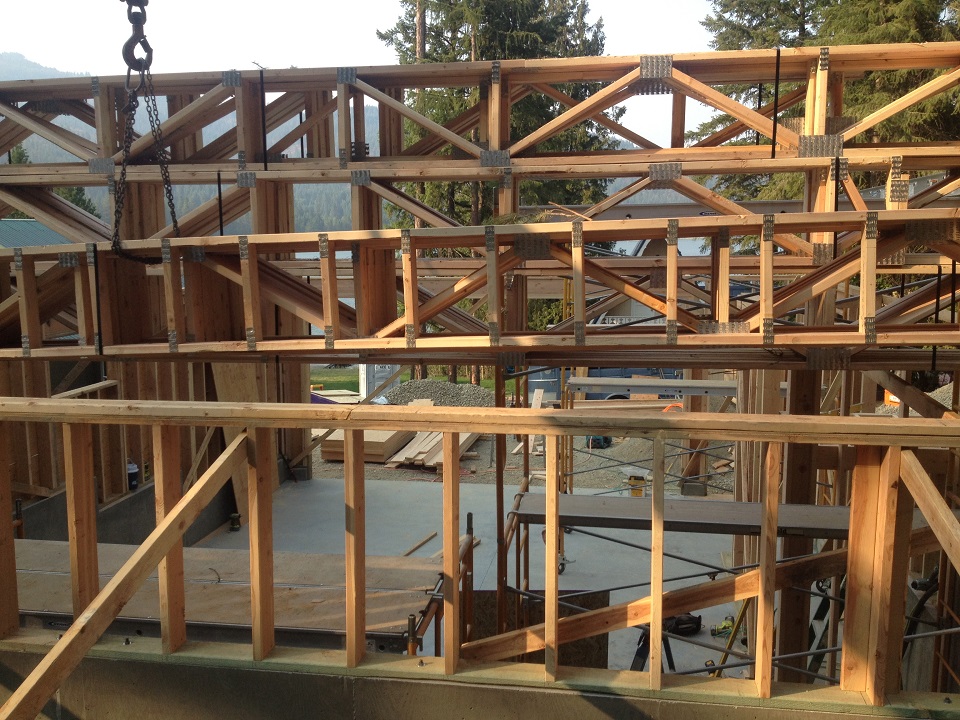
The 2nd floor framing on this job is constructed using floor trusses. A lot of buildings like this we build with room-under-the-roof trusses that provide both the floor framing plus the exterior walls, ceiling and roof framing all in one engineered system. That works fine if the 2nd floor footprint is much smaller than the first floor footprint. In this case, it is not, and the floor-only trusses are the perfect solution on this design because they can span the 28' width of the garage below so that the garage is unhindered by any interior posts, beams or other form of loadbearing support at the mid-span of this floor platform. These trusses also enhance our ability to construct stairs to the 2nd floor without consuming a significant part of the middle of this floor plan. The following photo is of the floor trusses being offloaded from the truss truck onto our first floor walls:
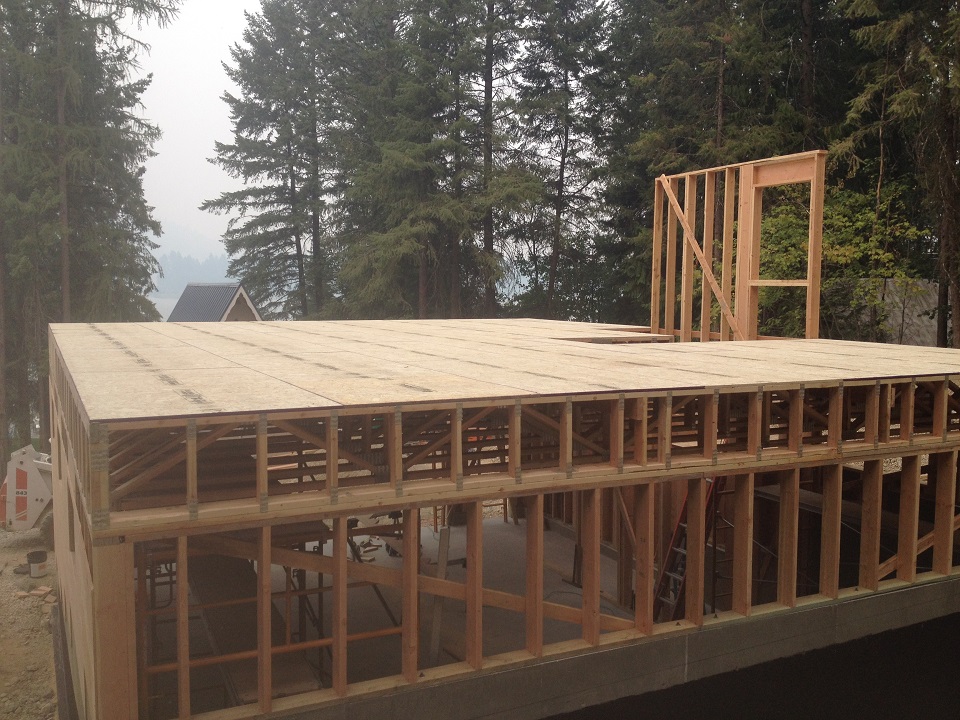
The completed floor frame is seen below:
Then, we glue and nail down (using subfloor adhesive and ring shank 8d nails) the subfloor. For a subfloor, we do like the OSB products for their stability during construction and weather exposure. In this case, we are using Durastrand for the subfloor. The wall frame seen is part of the balloon framing in the stairwell:
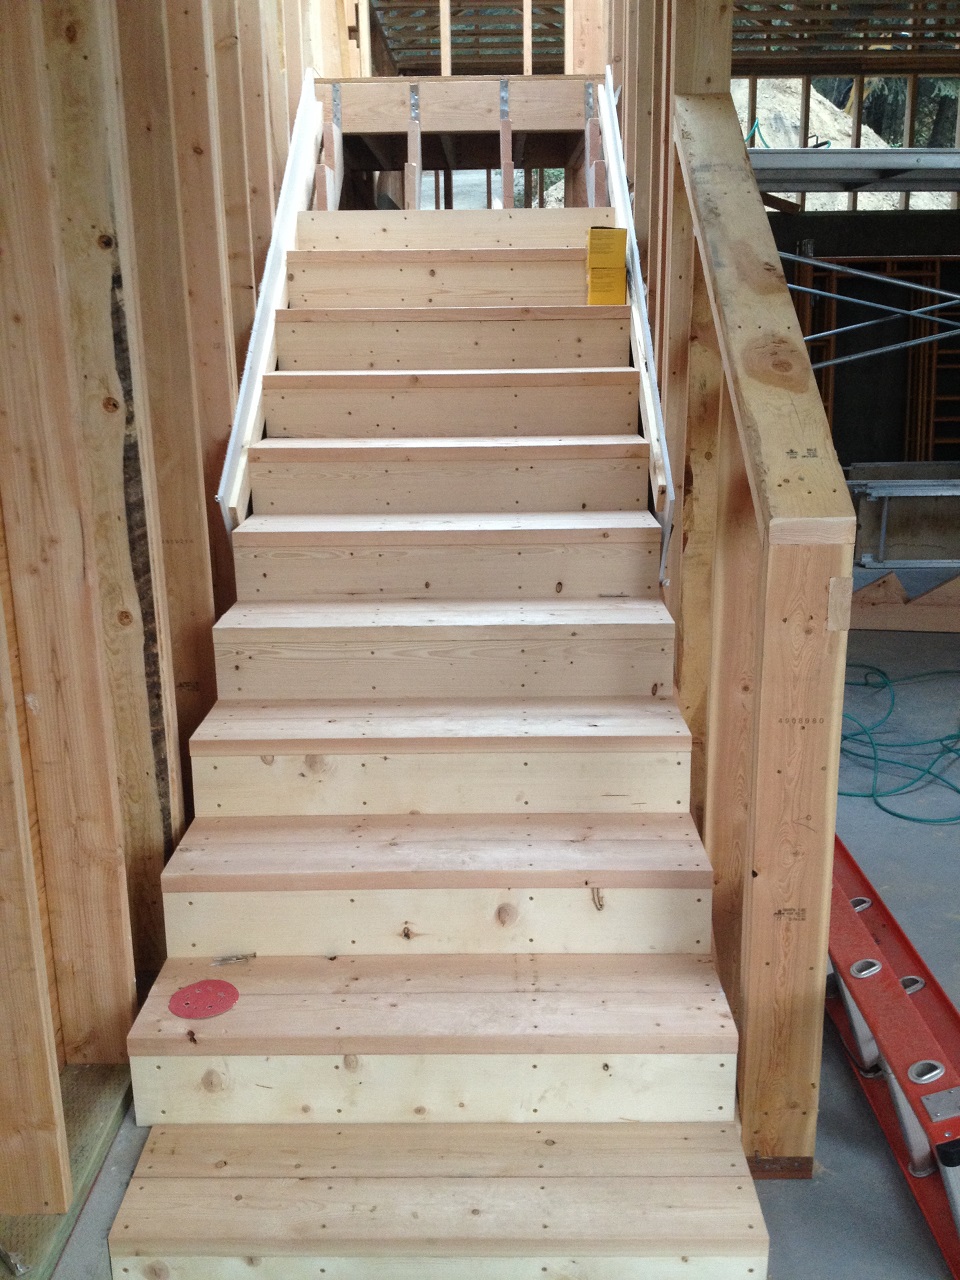
And the lower stair section under construction up to the landing. We are actually installing #2 fir/larch stair boards on the stringers. These will be sanded and stained for the finish. You'll see that for that we are using a 1x4 and a piece of drywall to accurately size the boards to accommodate the future finish stair stringer baseboard:
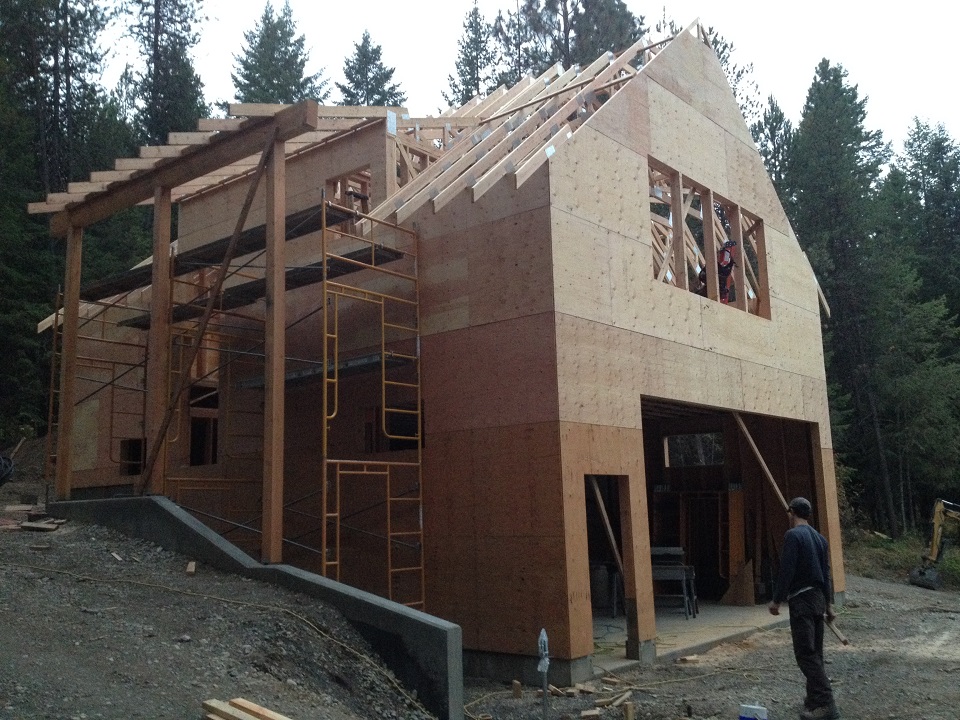
Then we get to work on the 2nd floor wall framing and take delivery of the roof trusses:
After the gable end walls are framed in and all of the trusses are braced, we install the exterior 1/2" CDX plywood sheeting all the way up, which acts as our permanent bracing for the building:
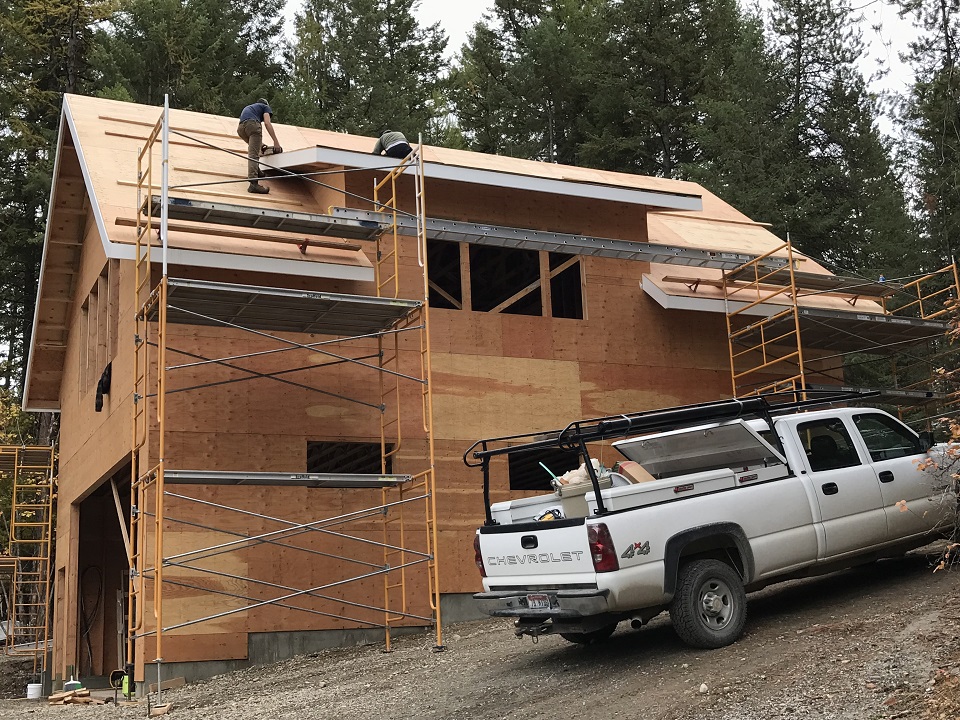
Even after that, there was still much framing to be accomplished in the roof for the rafter tails, blocking, subfascia and the gable end and dormer overhangs (all 2' in this case). The first finished product goes on the building at this stage, being the 2x8 painted Cedar fascia board (in this case painted white):
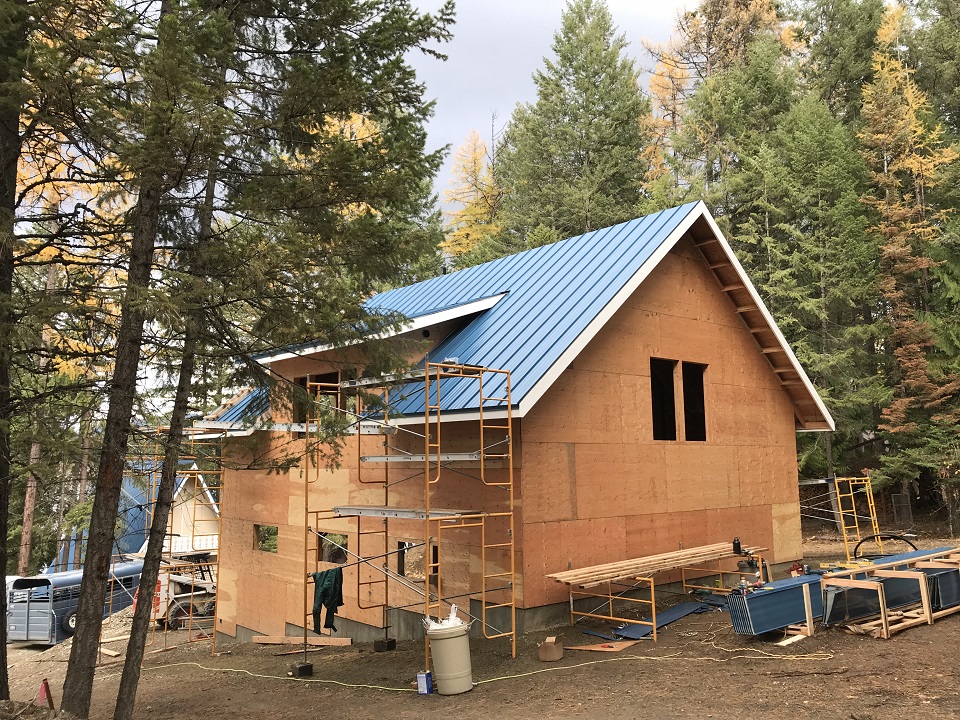
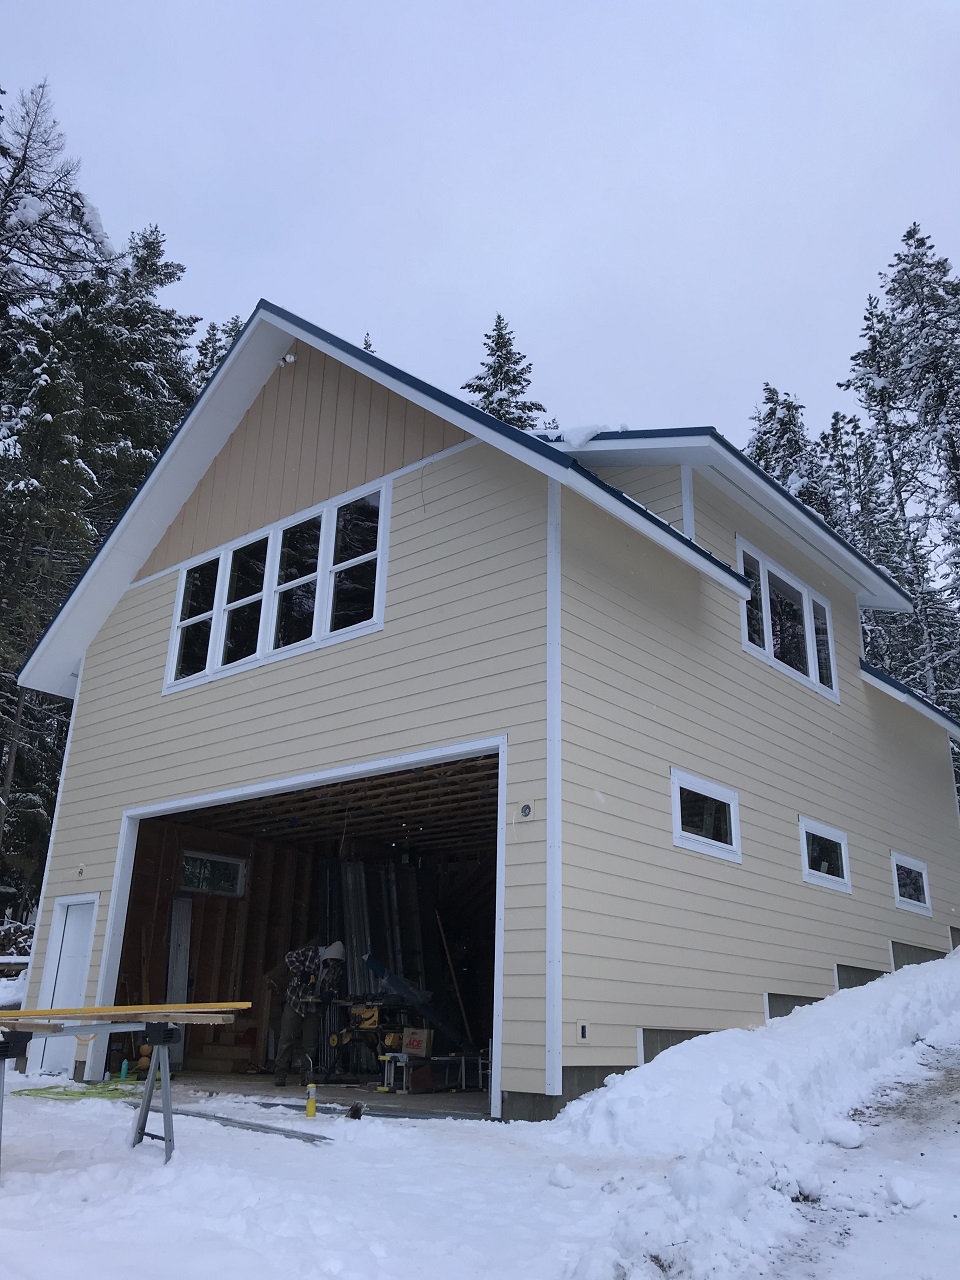
And then comes the roofing. This building is somewhat along a nautical theme in color and is designed to match the existing A-frame on the property using seamless metal roofing. The product we are using is from MetalSales in Spokane, and the color is Ocean Blue. This seamless roofing consists of 16" wide panels, and the fasteners are hidden, unlike the exposed fasteners with washers that you see on most metal roofs. It makes for a very clean appearance:
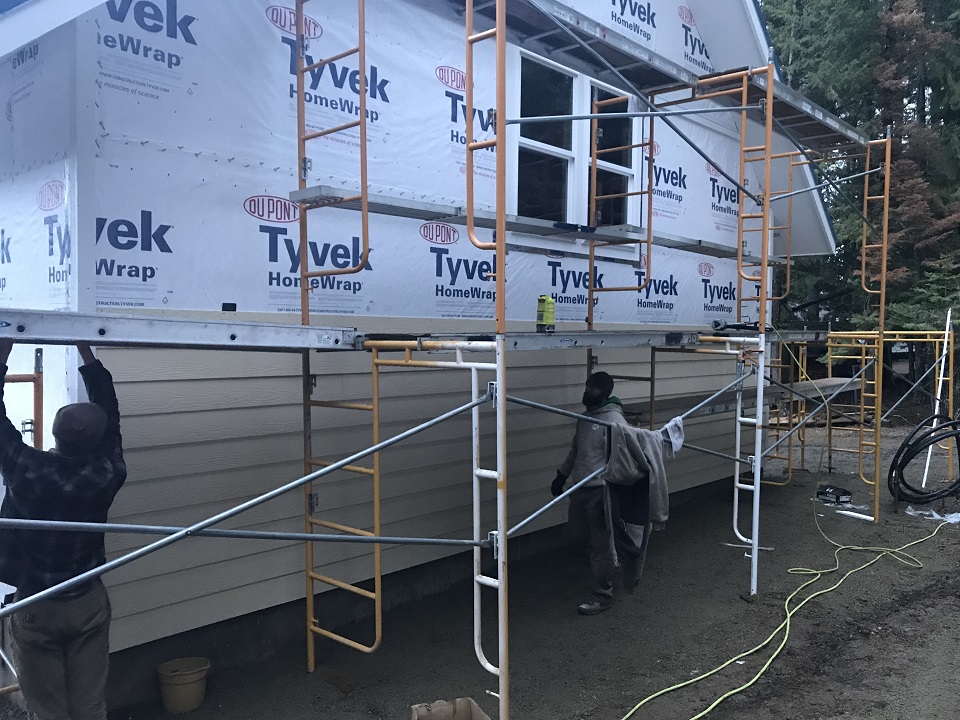
We like Tyvek. We have tried other building wraps and have found that while they say they permit water vapor to pass from the interior to the exterior, we have found some building wraps that trap that moisture instead (ask us how we have observed that sometime). The two barriers we have seen perform well over time are Tyvek and the older and traditional 15# felt. We follow the Tyvek manufacturer recommendations and use Tyvek tape on all of the horizontal and vertical Tyvek seams between courses. In the below photo, the Milgard vinyl windows have been installed according to the manufacturer's instructions to secure the lifetime warranty, and some Cedar trim and siding are underway. In this case, we are installing the common and durable fiber cement lap siding by Allura (formerly Certainteed). We have had our painter pre-paint this in his shop so that all we have to do is touch-ups. The paint is the more expensive and longer lasting Regal Select by Benjamin Moore, and the color is Hilton Head Cream (1107):
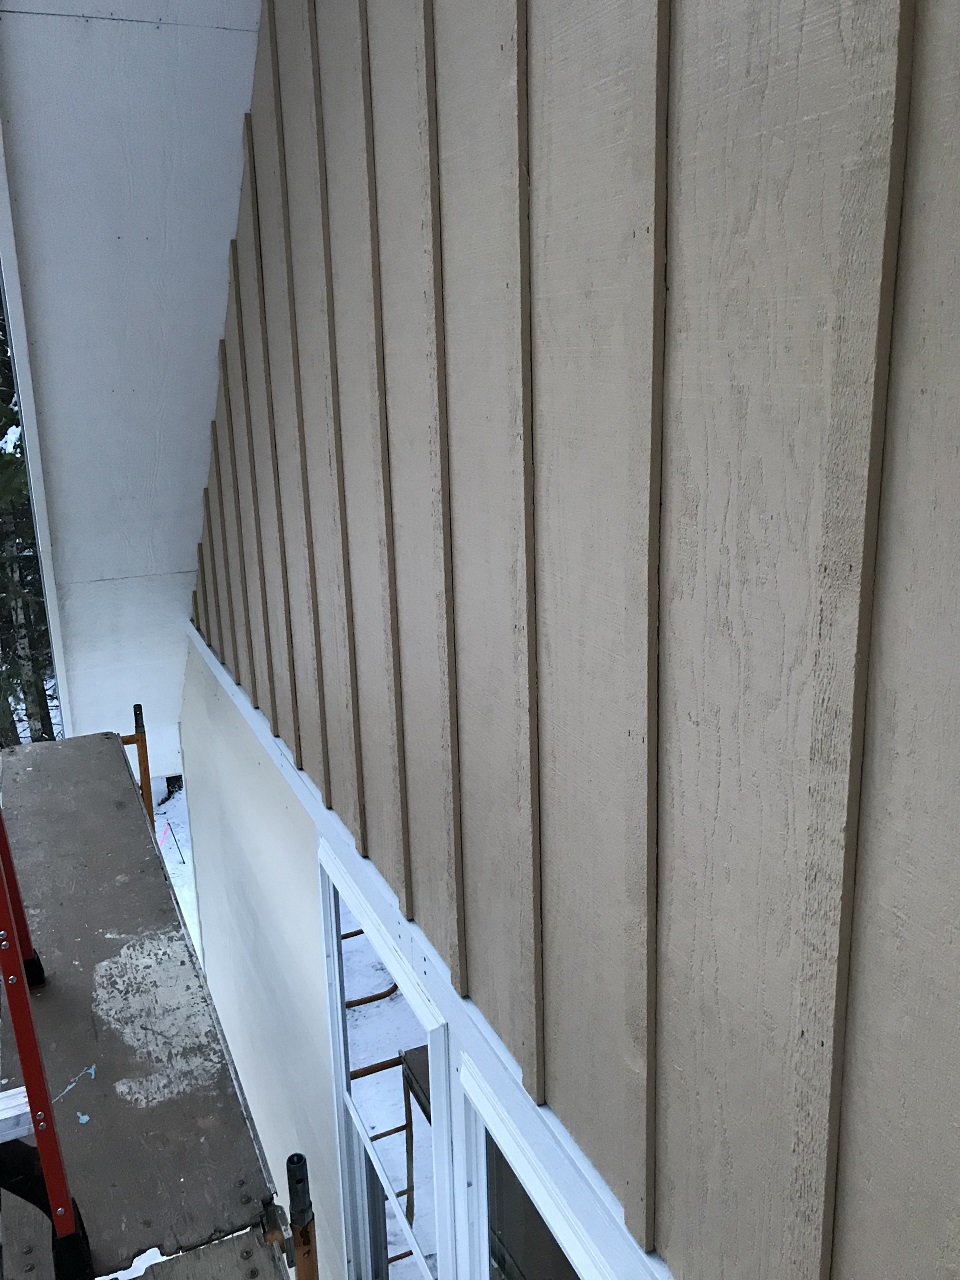
On the gable ends above the windows we are installing a painted board and batten siding. The way we are actually accomplishing this is to use a rough-sawn plywood, and we used our own Woodmizer LT15 sawmill to cut some custom 1/2" thick x 2" wide battens. A number of customers have asked us for this application, and I think this is the 4th job in which we have done something similar. We don't know of any product we can purchase from a manufacturer that looks just like this - most battens will be 1x2's or 1x3's, which seem like they have a little bit too much depth (at almost 7/8" thick), though they do look good in a number of applications. We will end up caulking the staple indents and using touch up paint to make them disappear and to clean up the seams of the rough sawn plywood soffitt (painted white on this building). The color of the board and batten siding is Benjamin Moore Regal Select Sepia Tan (1116). That Regal Select is in contrast to Benjamin Moore's contractor grade paint and provides better UV protection, allowing 10-12 years before repainting. Contractor grade allows only 6 to 8 years before UV fading and the need for repainting, and the regal Select only adds a little money to the whole job. Ask your contractor what he is using:
|